How to Prepare Drywall for Painting
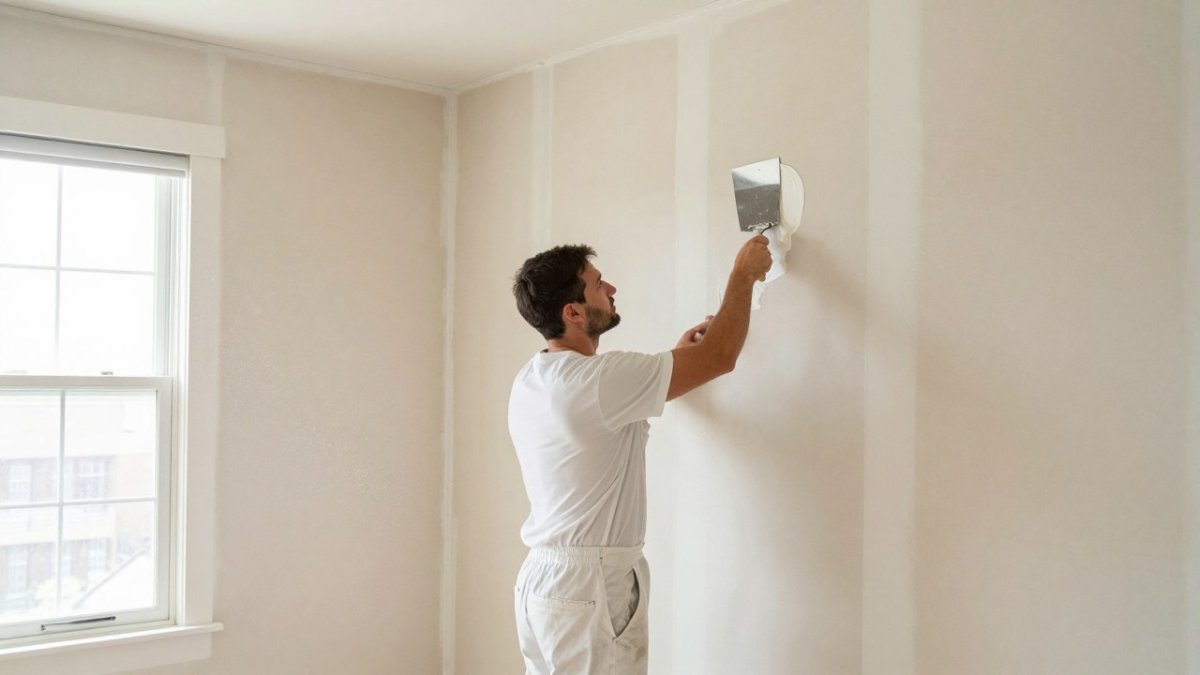
Last Updated: November 17, 2026
Quick Summary
To prepare drywall for painting, sand every joint, seam, and patch until the transition disappears, then remove all dust before applying primer. Sand with 120-grit, feather the edges, finish with 150-grit or 180-grit, and clean the walls high to low. Prime bare drywall with PVA or a water-based drywall primer before painting.
- Rake a bright work light at a low angle to find dents, ridges, and proud screw heads.
- Use 120-grit on a pole sander with light pressure, then finish with 150-grit or 180-grit.
- Wear an N95 respirator at minimum, and a half-face respirator with P100 filters for big rooms.
- Remove dust in layers, high to low: soft brush, vacuum with brush attachment, then microfiber cloth.
- PVA primer is the standard choice for new drywall and fresh joint compound.
Table of Contents
- Tools and Materials You Need Before You Start
- How to Prepare Drywall for Painting After Sanding
- Removing Drywall Dust Before Primer
- Choosing and Applying Drywall Primer
- How to Prepare Drywall for Painting After Removing Wallpaper
- Painting Drywall for the First Time: What to Expect
- Frequently Asked Questions
Tools and Materials You Need Before You Start
Preparing drywall for paint is mostly a dust-and-detail job, and the right tools make the difference between a smooth wall and one that shows every seam under the finish coat. Gather everything before you start so you are not hunting for sandpaper mid-wall.
Here is a short list of commonly used tools:
- 120-grit and 150-grit sandpaper, plus a sanding sponge for corners
- A pole sander for large wall surfaces
- A bright work light or clamp light
- A vacuum with a brush attachment
- A dry microfiber cloth and a damp cloth
- Joint compound and a 6-inch taping knife for touch-ups
- Painter's tape and drop cloths
- A quality drywall primer, either PVA or water-based
- A brush for corners and a mini roller for edges
Skip the cheap paper dust masks and use a proper respirator if you are sanding a lot. Fine drywall dust gets everywhere, and your lungs are not a filter.
How to Prepare Drywall for Painting After Sanding
Sanding is where most first-timers stop too early. The goal is not to remove material. The goal is to feather every joint, seam, and patch until your hand cannot feel the transition.
Work in this order:
- Inspect first. Rake a bright work light across the wall at a low angle. Dents, ridges, and proud screw heads show up as shadows. Mark them with a pencil.
- Sand the joint compound. Use 120-grit on a pole sander for broad areas. Keep the pad flat and use light pressure.
- Feather the transitions. Where compound meets bare drywall, sand until the edge disappears. This is the step that prevents "picture framing" under paint.
- Switch to 150-grit or 180-grit for the final pass. Fine-grit sandpaper smooths without gouging the paper face.
- Re-check with the work light. Sand again anywhere the light still catches an edge.
Watch out: pressing hard on a pole sander digs divots that primer cannot hide. Let the grit do the work.
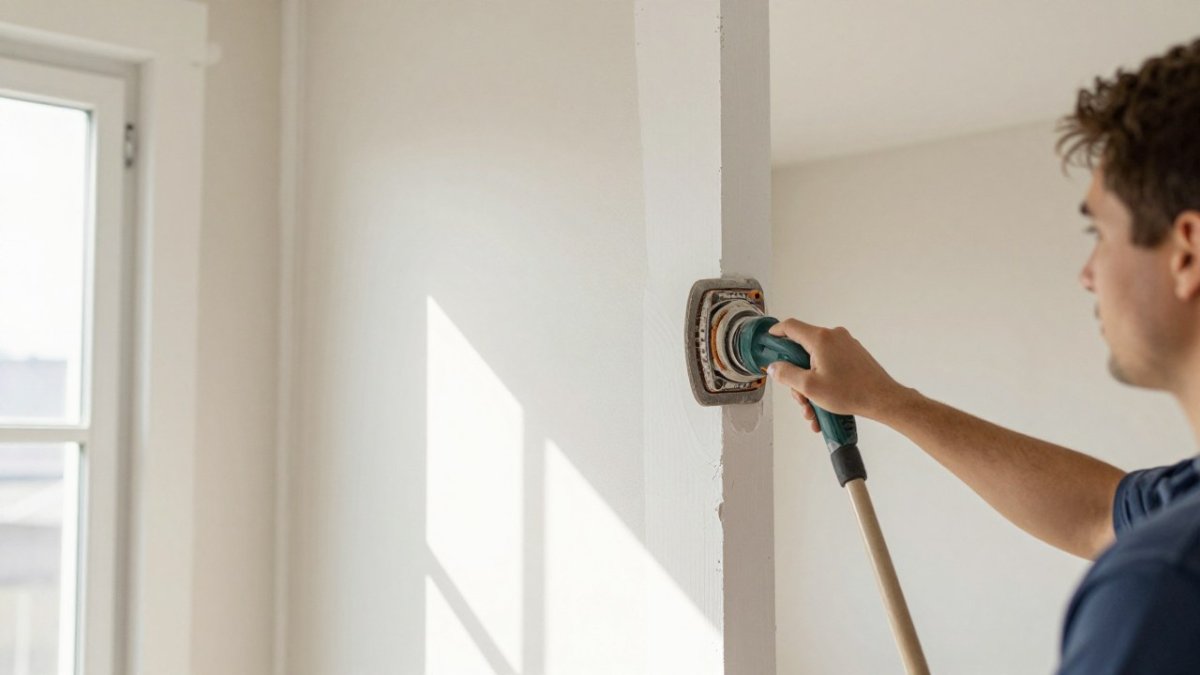
Sanding is a sequence, not a single pass, and the order below is what keeps seams from showing under paint.
| Step | What to do |
|---|---|
| Inspect first | Rake a bright work light at a low angle; mark shadows with pencil |
| Sand the joint compound | Use 120-grit on a pole sander, pad flat, light pressure |
| Feather the transitions | Sand until the compound edge disappears |
| Final pass | Switch to 150-grit or 180-grit sandpaper |
| Re-check with the work light | Sand again anywhere the light catches an edge |
Removing Drywall Dust Before Primer
Drywall dust is the single biggest reason primer fails to bond. A thin film of dust sits between the primer and the paper face, and the whole coat can lift later.
Protect yourself first. Fine gypsum dust is a respiratory irritant, and the paper face and joint compound both contribute particles when sanded.
Contain the dust before you make it. Tape plastic sheeting over doorways and HVAC returns, and seal gaps under doors with a rolled towel.
Remove dust in layers, high to low. Brush the walls with a soft brush or a broom to knock loose dust off joints and corners.
Clean the floor last, and clean it twice. Dust settles after you think you are done. Vacuum the floor, then wipe horizontal surfaces like window sills and ledges.
Let the wall dry completely before priming. Any damp patch will trap moisture under the primer.
Watch out: sweeping or dry-brushing a dusty wall without containment just moves the dust into the air, where it settles back on the surface you just cleaned. Contain first, then clean.
Choosing and Applying Drywall Primer
Drywall primer is a sealing coat made for bare gypsum board and joint compound. It evens out how the surface absorbs paint, so your finish coat dries to one consistent sheen instead of blotchy patches. The right primer depends on what is under it, so match the product to the surface before you open the can.
Match the primer to the surface.
- New drywall and fresh joint compound: PVA primer is the standard choice. It is affordable, dries fast, and seals the porous paper face well. A water-based drywall primer works too and is easier to clean up.
- Repaired or patched walls: Joint compound absorbs differently than the surrounding paper face, which is what causes flashing, dull and shiny patches under the finish coat. A high-solids drywall primer or a primer-sealer labeled for uneven porosity evens out the absorption. Two coats on patches are common.
- Previously painted walls: You do not need a drywall primer here. Use a bonding primer if the old coating is glossy or slick, and scuff-sand first so the new coat has a mechanical key.
- High-moisture rooms: Ask your supplier about a primer rated for those conditions, and follow the label for recoat and topcoat windows.
Application basics.
- Cut in corners and edges with a brush first.
- Roll the field with a 3/8-inch nap roller, working in overlapping W patterns.
- Keep a wet edge so lap marks do not dry into the wall.
- One coat is usually enough on new drywall; two if the compound still looks thirsty.
Troubleshoot the common failures.
- Flashing or blotchy sheen: uneven absorption, usually from unprimed patches or a coat applied too thin. Recoat with a high-solids primer rather than trying to fix it with paint.
- Poor adhesion or peeling: almost always dust or moisture left on the wall. Sand back the loose primer, clean and dry the surface, and reprime.
- Beading or crawling: contamination, paste residue, grease, or silicone, on the surface. Wash with a degreaser, rinse, dry, and reprime.
- Blistering after the second coat: the first coat was not fully dry. Check the label for recoat times and follow them; rushing traps solvent under the film.
If you would rather hand the walls, ceilings, and trim to a crew that preps and primes for a living, you can request an interior painting estimate and skip the dust entirely.
How to Prepare Drywall for Painting After Removing Wallpaper
Wallpaper removal leaves behind glue residue and often a wall in worse shape than you expected. Preparing drywall for painting after removing wallpaper starts with getting the surface clean and neutral.
Wash the wall with warm water and a mild detergent to strip paste residue. Rinse with clean water and let it dry. Any glue left behind will show through paint as a glossy patch or cause the primer to bead.
Then inspect for damage. Fill nail holes and small dents with lightweight spackle. Sand the patches smooth with 150-grit. If the paper face is torn, seal the torn edges with a thin skim of joint compound.
Older walls sometimes hide plaster rather than drywall. If the surface under the paper is hard and gritty, you are dealing with a different material and a different prep routine. Our guide on how to prepare plaster walls for painting walks through that surface, and prepping old plaster walls for painting covers the vintage-home version.
Painting Drywall for the First Time: What to Expect
First-time drywall painting feels slow at the start and fast at the end. Plan on prep taking longer than the painting itself. That is normal, and it is the right ratio.
Expect to spend most of your time on inspection and sanding, not on the roller. Expect dust in places you did not think dust could reach, so tape off doorways and cover furniture before you sand. Expect the first coat of primer to look patchy. It will even out.
If sanding reveals cracks at seams or corners, fix them before priming. Our article on how to fix cracks in plaster walls covers the repair method. And if the job grows past a weekend, a professional crew can take it from bare board to finish. You can request a Cityscape estimate for new drywall, trim, and doors.
Prepping drywall well takes patience, and the payoff is a finish that stays flat and clean for years. If you would rather not spend a weekend sanding, Cityscape Painting Company LLC provides professional interior and exterior painting services for homes and businesses in Grass Valley, Nevada City, and Nevada County, with a focus on careful surface preparation.
Frequently Asked Questions
How do you prepare drywall for painting after sanding?
After sanding, use a bright work light held at a low angle to check for dents, ridges, and scratches. Touch up any flaws with joint compound, let it dry, and sand again with 120-grit paper. Then remove all drywall dust with a vacuum and a damp cloth before applying primer. Skipping dust removal is the most common reason paint fails to bond.
What primer should you use on new drywall?
PVA primer is the standard choice for new drywall because it seals the porous paper and joint compound evenly. Apply one coat with a brush in corners and a roller on the field, then let it dry fully. For rooms with stains or high humidity, a stain-blocking primer may be needed.
Do I need to wipe down fresh drywall before painting?
Yes. Fresh drywall carries a fine layer of dust from sanding and handling. Wipe walls with a damp cloth or use a vacuum with a brush attachment, then let the surface dry completely. A quick wipe-down removes dust that would otherwise mix with primer and cause a rough, uneven finish.
How perfect does drywall need to be before paint?
Paint highlights surface flaws, so aim for smooth transitions at joints and seams with no visible ridges or dents. Use a work light to inspect from different angles. Minor imperfections can be hidden with primer and paint, but deep dents or rough patches should be filled and sanded first.
