How Do You Prep Old Plaster Walls for Painting?
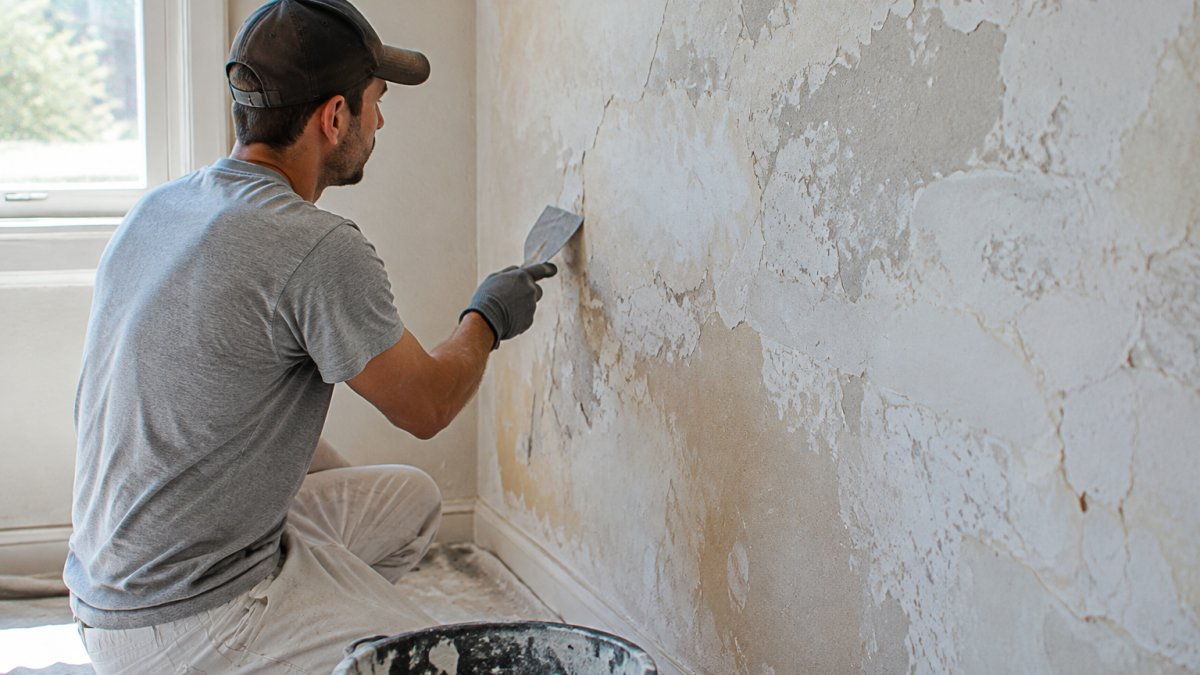
Last Updated: November 4, 2026
Quick Summary
To prep old plaster walls for painting, first test for lead paint and moisture, then repair cracks, sand smooth, and clean away all dust. Match the primer to the plaster type, since lime and gypsum need different products, and let patches cure fully before priming.
- Homes built before 1978 may have lead-based paint, so test with a kit or hire a certified inspector first.
- Seal painter's tape on all four edges and check after 48 hours; beads on the back mean moisture is coming through.
- Lime plaster needs an alkali-resistant acrylic bonding primer, while shellac-based primer is a reliable fallback over chalky areas.
- Sand with a 120 to 150 grit sanding sponge, then wipe away dust with a damp cloth or tack cloth before priming.
- Cure and prime between roughly 50°F and 80°F with moderate humidity, allowing 24 to 48 hours for patches.
Table of Contents
- Test the Plaster and Check for Lead and Moisture Before You Start
- How to Repair Cracks in Plaster Walls
- Sanding Old Plaster Walls Before Painting
- Choosing the Best Primer for Old Plaster Walls and Letting It Cure
- Frequently Asked Questions
Test the Plaster and Check for Lead and Moisture Before You Start
The first job when you prep old plaster walls is a short diagnostic check for lead paint, moisture damage, and surfaces that won't take a new coat.
- Lead paint: Homes built before 1978 may have lead-based paint. Use a lead test kit or hire a certified lead inspector.
- Moisture: Seal painter's tape on all four edges of the wall and check after 48 hours. Beads on the back mean moisture is coming through.
- Loose areas: Tap with your knuckle. A hollow sound means the plaster has pulled from the lath and needs securing before painting.
Address any moisture source before you prep the surface. Paint over damp plaster will peel.
How to Repair Cracks in Plaster Walls
Not every crack gets the same repair. Identify your plaster type and what the crack is telling you first, because the wrong filler on the wrong substrate will fail within a season.
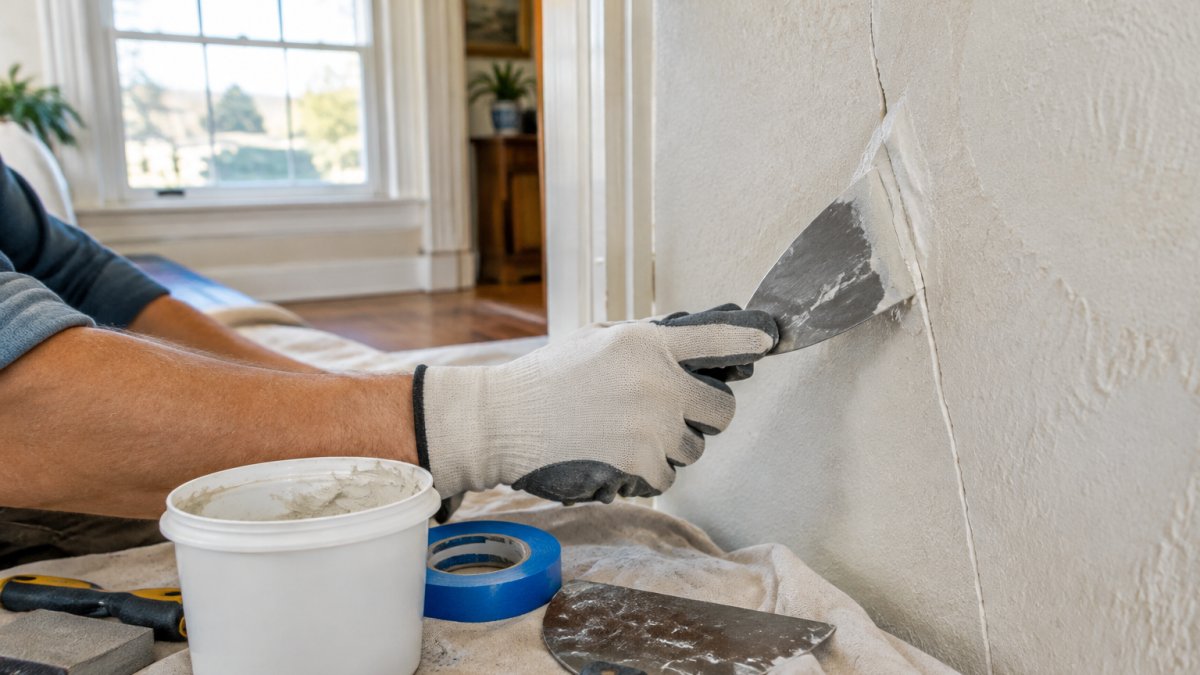
Identify the plaster type first. For the full step-by-step method matched to each crack type, see how to fix cracks in plaster walls. Old walls are usually lime or gypsum, and they behave differently:
- Lime plaster is traditional in pre-1950s homes: soft, breathable, slightly flexible, but alkaline and chalky, so it does not bond well to acrylic fillers or standard drywall compound.
- Gypsum plaster (plaster of Paris or gauging plaster) came into wide use mid-century: harder, denser, less breathable. It takes patching compound well but cracks more sharply when framing moves.
Field test: scratch a hidden spot with a screwdriver. Lime powders and crumbles easily and looks off-white; gypsum is harder with denser, grittier dust. If unsure, patch a small test area and check adhesion after 24 hours.
-
Hairline cracks (under 1/16 inch): usually shrinkage or settling in the finish coat. Widen slightly with a utility knife, vacuum the dust, fill with lightweight setting-type joint compound, feather, and sand smooth.
-
Cracks along lath lines: straight cracks following the wood lath mean the plaster keys have broken. Patching alone will not hold, re-secure the loose area first with injected plaster adhesive or plaster washers screwed into the lath, then patch.
-
Wide or recurring cracks: wider than 1/8 inch or returning after patching often point to framing movement, failing lath, or moisture behind the wall. These need diagnosis, not filler.
-
Widen the crack into a slight V-groove with a utility knife so filler can key in.
-
Vacuum out loose debris and dust.
-
Dampen lime plaster edges lightly, it pulls moisture from wet filler and can cause shrinkage cracks.
-
Press setting-type compound into the groove, building slightly proud of the surface.
-
Let it set fully, then feather and sand smooth with 120- to 150-grit.
Curing conditions matter. Apply and cure between roughly 50°F and 80°F with moderate humidity, and allow 24 to 48 hours or more before priming in cool or damp conditions.
Watch out: filling a crack that is actively moving or damp will only hide the problem until the next season. If a patch fails twice in the same spot, stop patching and investigate the cause.
Sanding Old Plaster Walls Before Painting
Sanding smooths patches and removes loose paint so the new coat bonds evenly. When you prep old plaster walls, use a fine-grit sanding sponge, around 120 to 150 grit, and sand only until the surface feels even. Over-sanding plaster can wear through the finish coat.
Wipe the dust away with a damp cloth or a tack cloth before priming. For detailed preparation work on surfaces like these, see how this business handles finish prep for woodwork and cabinets. Dust left on the wall will weaken adhesion and can cause paint failure later. If the sanding produces a lot of dust from old paint, stop and confirm the lead test results first.
Choosing the Best Primer for Old Plaster Walls and Letting It Cure
Primer is where old plaster jobs succeed or fail. If you would rather have a crew handle the prep and priming, request a local Grass Valley and Nevada County painting estimate.
- Lime plaster: Alkali-resistant primer is the safe choice, a high-quality acrylic bonding primer for masonry or plaster, with shellac-based primer as a reliable fallback over chalky or stained areas. Avoid cheap water-based primers the alkaline surface can attack.
- Gypsum plaster: A standard acrylic bonding or PVA drywall primer gives good grip on sound gypsum. Oil-based primer seals better over stained, smoky, or heavily porous areas.
- Previously painted plaster: If the old coating is sound and bonded, a bonding primer over a cleaned surface is usually enough. If it is chalky, glossy, or peeling, remove the loose coating first.
- Stained or water-damaged areas: Use a stain-blocking shellac- or oil-based primer to keep water marks and tannins from bleeding through.
Do not skip the moisture check. For a crew that masks and preps walls and ceilings before painting, see interior painting with careful surface preparation. Primer over damp plaster will fail no matter how good the product is.
- Apply one full coat at the manufacturer's spread rate, do not thin unless the label says to.
- Work it into pores and patched areas; back-brush or use a brush on repairs, since a roller alone can leave pinholes over rough plaster.
- Allow the full recoat time on the label before topcoating, several hours to overnight.
- Let freshly patched plaster cure fully before priming, typically 24 to 48 hours, longer in cool or humid conditions.
Environmental conditions. Primer and paint cure best between roughly 50°F and 80°F with moderate humidity. Below that, curing slows and adhesion suffers; above it, the coating can skin over before it bonds.
Watch out: priming over a chalky lime surface without an alkali-resistant or shellac primer is a classic failure, the new coat looks fine for months, then peels in sheets.
The right primer depends on the plaster type and the wall's condition, so match the product to the substrate before you buy.
| Surface | Recommended primer | Key note |
|---|---|---|
| Lime plaster | Alkali-resistant acrylic bonding primer | Avoid cheap water-based primers |
| Lime plaster (chalky or stained) | Shellac-based primer | Reliable fallback |
| Gypsum plaster | Acrylic bonding or PVA drywall primer | Good grip on sound gypsum |
| Stained or smoky areas | Oil-based primer | Seals better than water-based |
| Water-damaged areas | Shellac- or oil-based stain-blocking primer | Stops water marks and tannins bleeding through |
| Freshly patched plaster | Wait 24-48 hours | Longer in cool or humid conditions |
| Cure temperature | 50°F to 80°F, moderate humidity | Outside this range, adhesion suffers |
Frequently Asked Questions
Can you paint directly over old plaster?
You can, but only after the surface is sound, clean, and primed. Loose or powdery plaster will peel paint off no matter how good the topcoat is. Scrape away flaking areas, clean off dust and grease with trisodium phosphate (TSP), and apply a bonding primer designed for plaster. Skipping these steps is the most common reason paint fails within a year on older walls.
How long should plaster dry before you paint it?
New plaster or fresh patching compound usually needs at least 48 hours to 7 days to cure, depending on thickness, humidity, and ventilation. Paint applied too early can trap moisture, causing blistering or peeling. Press a small area with your finger: if it feels cool, damp, or dents easily, wait longer before priming. Patches should also be fully dry before sanding.
Are 1950s plaster walls likely to contain asbestos or lead?
Homes built before 1978 may have lead-based paint layers. Before sanding or scraping, test the paint with an EPA-recognized lead test kit or hire a certified lead-safe renovator. Asbestos is less common in plaster itself but can appear in some joint compounds and textures, so a lab test is worth doing before you disturb suspect material.
Frequently Asked Questions
Can you paint over old plaster without sanding? Sanding is strongly recommended. It removes loose paint and creates a surface the primer can grip, so skipping it raises the risk of peeling.
How long should plaster dry before you paint it? Most patched plaster needs at least 24 to 48 hours before priming, and longer in humid conditions. Check the patch compound's label for the exact time.
