How to Fix Cracks in Plaster Walls
Last Updated: October 31, 2026
Quick Summary
To fix cracks in plaster walls, first identify the crack type, then match the filler to it: ready-mixed joint compound for hairline cracks, setting-type compound with fiberglass mesh tape for wider or recurring cracks. Score the crack, clean it, tape, fill in thin coats, feather, sand, and prime before painting.
- A hairline crack is usually under the width of a dime and is the easiest to fix.
- Fiberglass mesh tape is the standard choice for cracks wider than a hairline.
- Ready-mixed joint compound needs about 24 hours between thin coats.
- Cracks that keep returning mean the plaster has pulled away from the lath.
- A single hairline crack takes about an hour of work over two to three days.
Table of Contents
- Assessing Plaster Wall Cracks Before You Repair
- Choosing the Best Filler for Cracks in Plaster Walls
- Step-by-Step: How to Fix Hairline Cracks in Plaster
- How to Repair Cracks in Plaster That Keep Coming Back
- How Long Does Plaster Repair Take to Dry?
- Getting a Professional Assessment for Historic Plaster Walls
- Frequently Asked Questions
Assessing Plaster Wall Cracks Before You Repair
The first step in how to fix cracks in plaster walls is identifying the crack type. Plaster in older homes often shows its age. A hairline crack is thin and stable; a settlement crack is wider and often runs at an angle; a structural crack keeps growing and needs a professional look.
Match the repair to the cause, or you will be patching the same spot again next year.
Hairline, Settlement, and Structural Cracks
A hairline crack is a thin line, usually under the width of a dime, caused by normal settling or seasonal movement.
A settlement crack is wider and often appears near corners, windows, or door frames.
A structural crack is the one to watch. It grows, runs diagonally, or shows up with bowing or crumbling plaster.
Watch out: painting over a crack without fixing the cause just hides it for a season. It will come back.
Choosing the Best Filler for Cracks in Plaster Walls
The best filler for cracks in plaster walls depends on crack width, whether the plaster is still bonded to the lath, and whether the crack is likely to move again. A hard, brittle filler over a moving crack will crack along the same line, and a soft filler in a wide gap will shrink and dish.
Setting-Type Compound vs. Ready-Mixed Joint Compound
Ready-mixed joint compound comes in a bucket, is soft and easy to sand, and shrinks noticeably as it dries. It is the forgiving choice for hairline cracks and for feathering a patch into the surrounding wall, but it has low tensile strength and should not bridge a crack that opens and closes with the seasons.
Setting-type compound (a powder mixed with water, labeled by set time such as 20-, 45-, or 90-minute) hardens chemically rather than by drying. It shrinks far less, sands harder, and holds up better in wider or recurring cracks.
Plaster Filler, Patching Plaster, and Bonding Products
Plaster filler or patching plaster is the right choice when the crack is wide enough to need body, roughly wider than a credit card, or when the surrounding plaster is sound but the gap is deep.
Bonding products (concentrated bonding agent or plaster adhesive) are not fillers. They are used before filling when the plaster has separated from the lath, covered in the reattachment section below.
Tape: Fiberglass Mesh vs. Paper Scrim
Fiberglass mesh tape is self-adhesive and bridges a crack so the filler has something to grab onto. It is the standard choice for cracks wider than a hairline and for cracks that have reopened.
Paper scrim tape (paper joint tape) is thinner and flatter and is bedded into a coat of compound rather than stuck on dry. It suits flatter, wider repair areas and blending a patch into a large flat wall, but it is less resistant to movement than mesh.
A Quick Selection Guide by Crack Type
- Hairline crack, plaster sound: ready-mixed lightweight joint compound, no tape needed, two thin coats.
- Hairline crack that has reopened once: setting-type compound plus fiberglass mesh tape.
- Wider settlement crack near a corner or opening: setting-type compound plus mesh, skimmed with joint compound.
A common mistake is skipping tape on anything wider than a hairline. Without it, the filler cracks right back along the same line, and the second repair is harder because the first patch has to be removed.
Step-by-Step: How to Fix Hairline Cracks in Plaster
Here is how to fix hairline cracks in plaster in six steps.
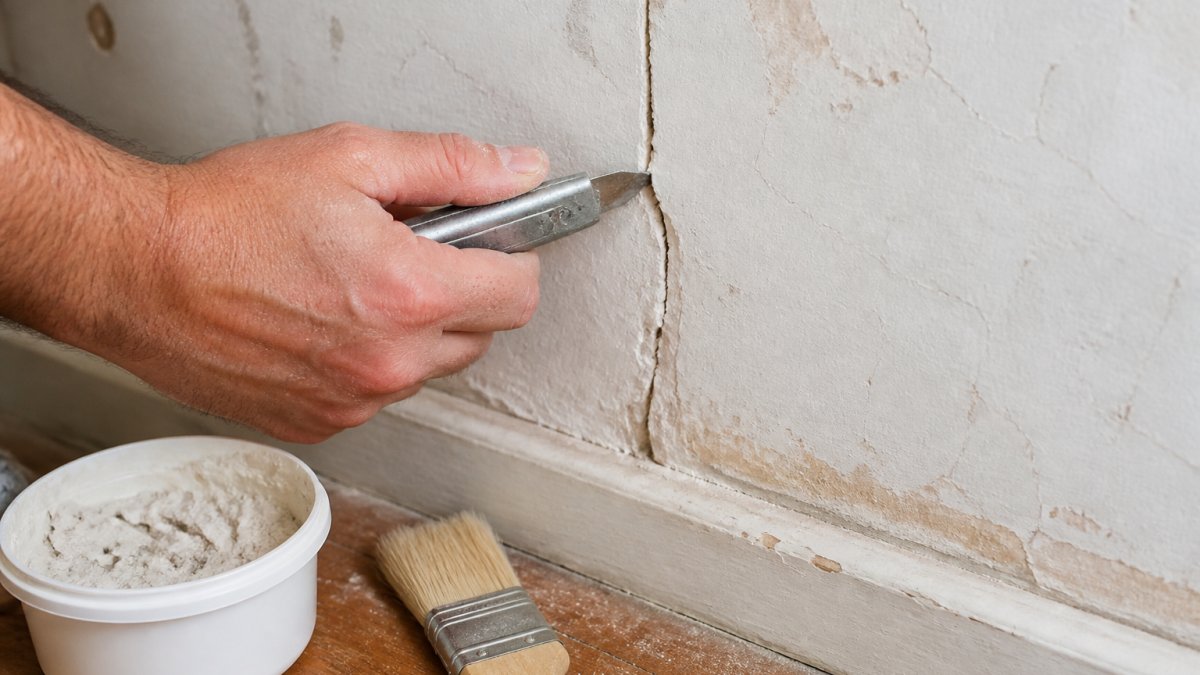
- Score the crack. Run a utility knife along the line to open it slightly. This gives the filler room to bond.
- Clean the area. Brush out dust and loose plaster with an artist's paintbrush or a dry brush.
- Apply mesh tape. Press fiberglass mesh tape over the crack for anything wider than a hairline.
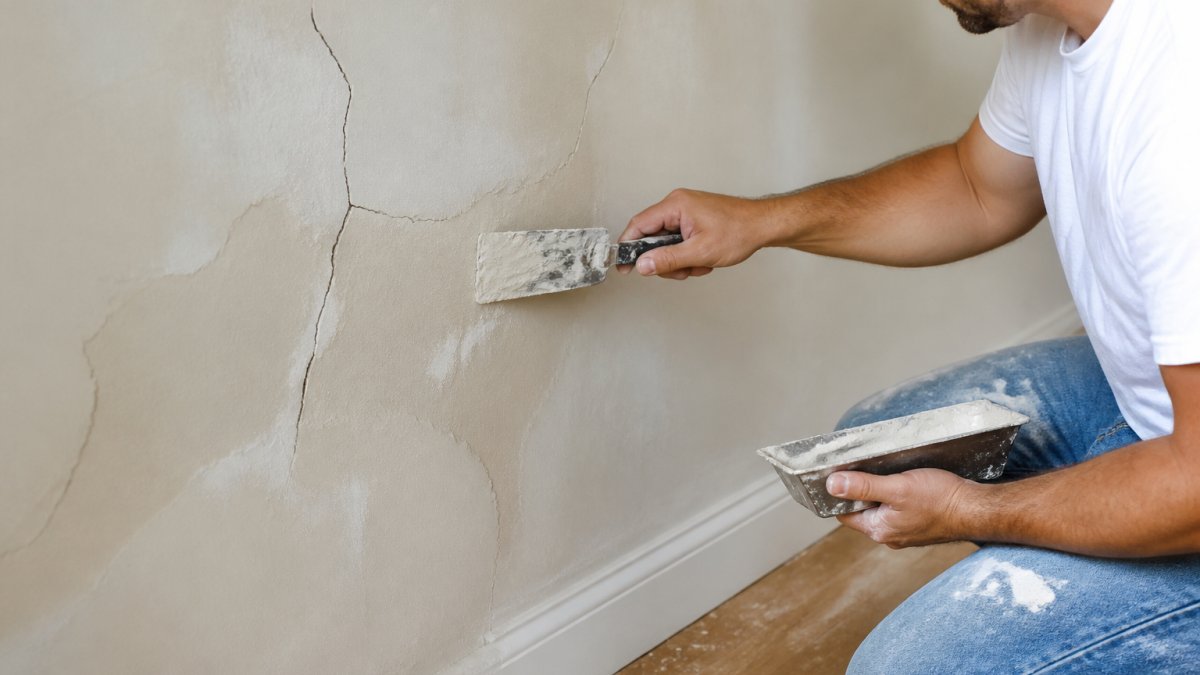
- Fill the crack. Press joint compound or plaster filler into the crack with a putty knife. Overfill slightly.
- Feather and blend. Smooth the edges so the patch blends into the surrounding plaster.
- Sand and prime. Once dry, sand smooth, wipe off dust, and apply primer before painting.
For repainting the wall after the repair, see our interior painting service.
How to Repair Cracks in Plaster That Keep Coming Back
Cracks that keep coming back usually mean the plaster has pulled away from the lath behind it. Lath and plaster walls hold together through a bond between the plaster and the wood strips underneath. When that bond fails, the plaster moves and the crack reopens.
- Check for hollow sounds by tapping the wall gently.
- If the plaster sounds hollow, it is loose and needs reattaching.
- Fill and tape only after the plaster is secure again.
Reattaching Loose Plaster to Lath
To reattach loose plaster, drill small holes through the loose section and inject wood glue or a plaster adhesive behind it. Press the plaster flat and hold it while the adhesive sets. Add fasteners if the section is large. Once the plaster is bonded to the lath again, repair the crack as usual.
If the damage is extensive, new drywall and finish work may be the better path.
How Long Does Plaster Repair Take to Dry?
Drying time is where most plaster repairs go wrong, because the filler can look dry on the surface while still holding moisture underneath. Painting too early traps that moisture and causes peeling, blistering, or a patch that telegraphs through the finish.
Drying and Cure Times by Product
- Ready-mixed joint compound: about 24 hours between thin coats under normal indoor conditions (roughly 70°F and 50% relative humidity). Two or three coats means two or three days before sanding and priming.
- Setting-type compound: sets hard in its labeled time (20, 45, or 90 minutes), but that is set, not dry. Most practitioners allow several hours to overnight before the next coat, and 24 hours before primer.
- Patching plaster or plaster filler: sets in roughly 20 to 60 minutes depending on the product, but the patch should cure at least 24 hours before skimming with joint compound or priming.
What Changes the Dry Time
- Coat thickness: thin coats dry faster and shrink less. Two thin coats beat one thick coat every time.
- Temperature: most compounds are formulated for application above about 50°F. Cold rooms slow drying dramatically and can prevent a proper set.
- Humidity: damp air slows drying. In a humid bathroom or a rainy week, add a day to your estimate.
How to Tell a Patch Is Ready for Sanding and Primer
Do not rely on the clock alone. Use these checks:
- Color: ready-mixed compound turns from a darker, wetter shade to a uniform matte white as it dries. A darker center means it is still wet.
- Touch: press a fingertip into the patch. It should feel hard and cool, not tacky or soft.
- Sand test: sand a small corner. If it balls up or smears, it is still too wet; if it powders cleanly, it is ready.
- Primer test: prime a small area and watch for the primer soaking in unevenly or lifting the filler. If either happens, stop and let it dry longer.
Realistic Timeline for a Typical Repair
For a single hairline crack repaired with ready-mixed compound and two thin coats, plan on roughly an hour of active work spread over two to three days: fill day one, second coat day two, sand and prime day three, paint after the primer is dry. A wider crack with mesh tape and setting-type compound adds a day because the tape bed and skim coat each need their own cure. A wall with several patches can usually be worked in sequence so drying time overlaps rather than stacks.
If you are hiring out the repaint after the repair, ask the painter how they confirm the patch is dry before priming.
Drying times vary by product, so here is what the article says to expect before sanding and priming.
| Product | Set or dry time | Note |
|---|---|---|
| Ready-mixed joint compound | About 24 hours between thin coats | Two or three coats means two or three days |
| Setting-type compound | Sets in labeled time: 20, 45, or 90 minutes | Allow several hours to overnight before next coat |
| Patching plaster or plaster filler | Sets in roughly 20 to 60 minutes | Cure at least 24 hours before skimming or priming |
| Deep fills over 1/4 inch | Each layer needs its own dry time | One thick fill will shrink, crack, or stay soft |
| Typical hairline crack repair | About an hour of work over two to three days | Fill day one, second coat day two, sand and prime day three |
Getting a Professional Assessment for Historic Plaster Walls
Older homes with original plaster deserve a closer look before you start patching. Plaster in historic homes often has decorative details, uneven surfaces, and layers that need careful handling. A wrong repair can damage features that are hard to replace.
If you are unsure about the cause of a crack, or the plaster is loose over a large area, get a professional assessment. You can also read client reviews of the company's detailed preparation work. Our team offers painting for older homes with distinctive architectural features.
Frequently Asked Questions
Is it normal for plaster to crack?
Yes, hairline cracks are common in plaster walls, especially in older homes. Plaster expands and contracts with temperature and humidity changes, and the lath behind it can shift over decades. Most fine cracks are cosmetic and easy to fill. Wider cracks, cracks that follow a zigzag pattern, or ones that reappear after repair can point to movement or moisture behind the wall, so have those checked before you patch.
Can I just paint over hairline cracks in plaster?
Painting over a hairline crack hides it for a few weeks at most. Paint bridges the gap, then cracks again as the wall moves. The crack needs to be opened slightly, cleaned, filled with a flexible filler, and sanded smooth before priming and painting. Skipping those steps is the main reason cracks in plaster walls come back.
What is the best filler for cracks in plaster walls?
For hairline cracks, a fine surface filler or lightweight joint compound works well because it sands smooth. For wider cracks, use a patching plaster or a two-part filler reinforced with fiberglass mesh tape. Avoid rigid fillers on cracks that may still move, since they crack again. A flexible acrylic caulk is a good choice for cracks at corners and joints.
How long does plaster repair take to dry?
Most joint compound and plaster filler needs 24 hours per coat to dry fully, and two or three thin coats are typical. That puts a small repair at two to three days before sanding and painting. Deep patches or repairs over lath can take longer. Humidity and wall thickness affect drying time, so check that the patch is uniformly pale and hard before sanding.
Cracks in old plaster can feel like a losing battle, but the right diagnosis and the right materials make the difference. If you would rather hand off the repair and repaint to a team that focuses on careful surface prep, Cityscape Painting Company LLC is here to help. We handle drywall texture patches, nail-hole filling, caulking, and full interior and exterior painting for homes and businesses. Get started with Cityscape Painting Company LLC and request an estimate for a finish that lasts.
